Setup H3x Kitty in GitHub
1. Turn on Code Security feature for your repository
1. Navigate to your repository.
2. Open "Settings" at the top of the page.
3. Select "Advanced Security" in the left pane.
4. Press the "Enable" button for "Code Security".
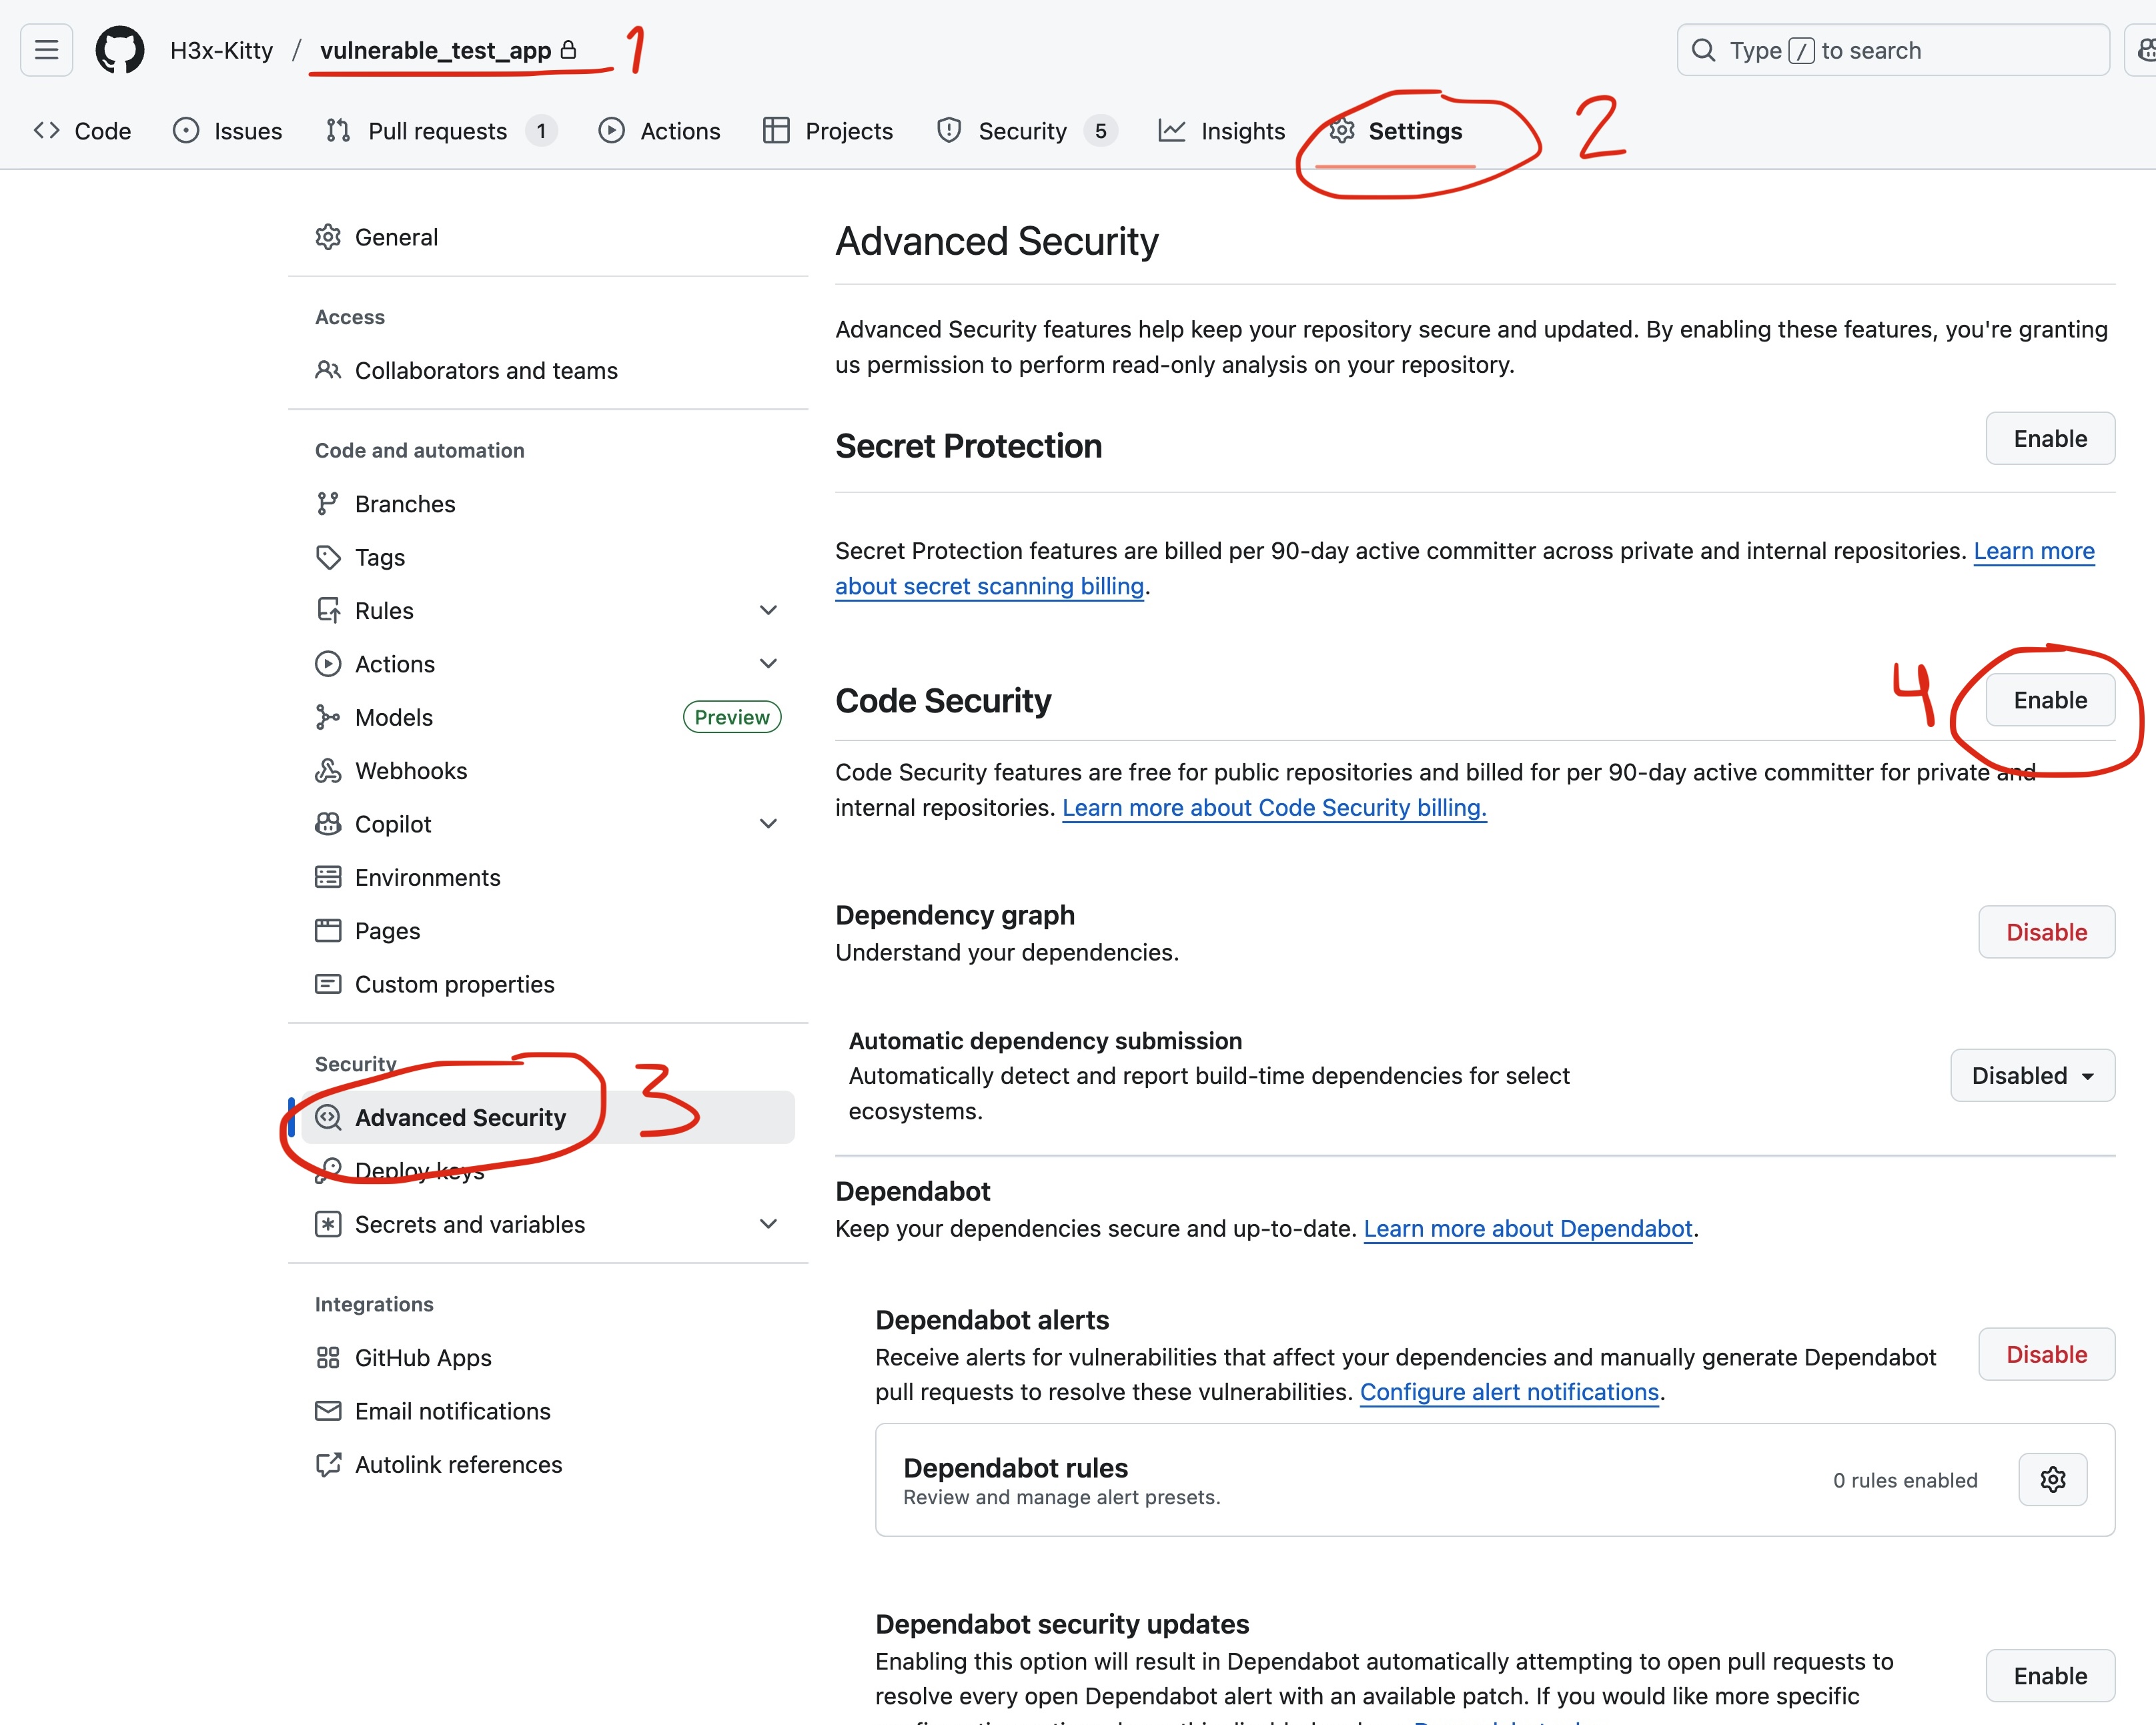
Turning on Code Security for your repository
Press "Enable Code Security" in the pop-up message:
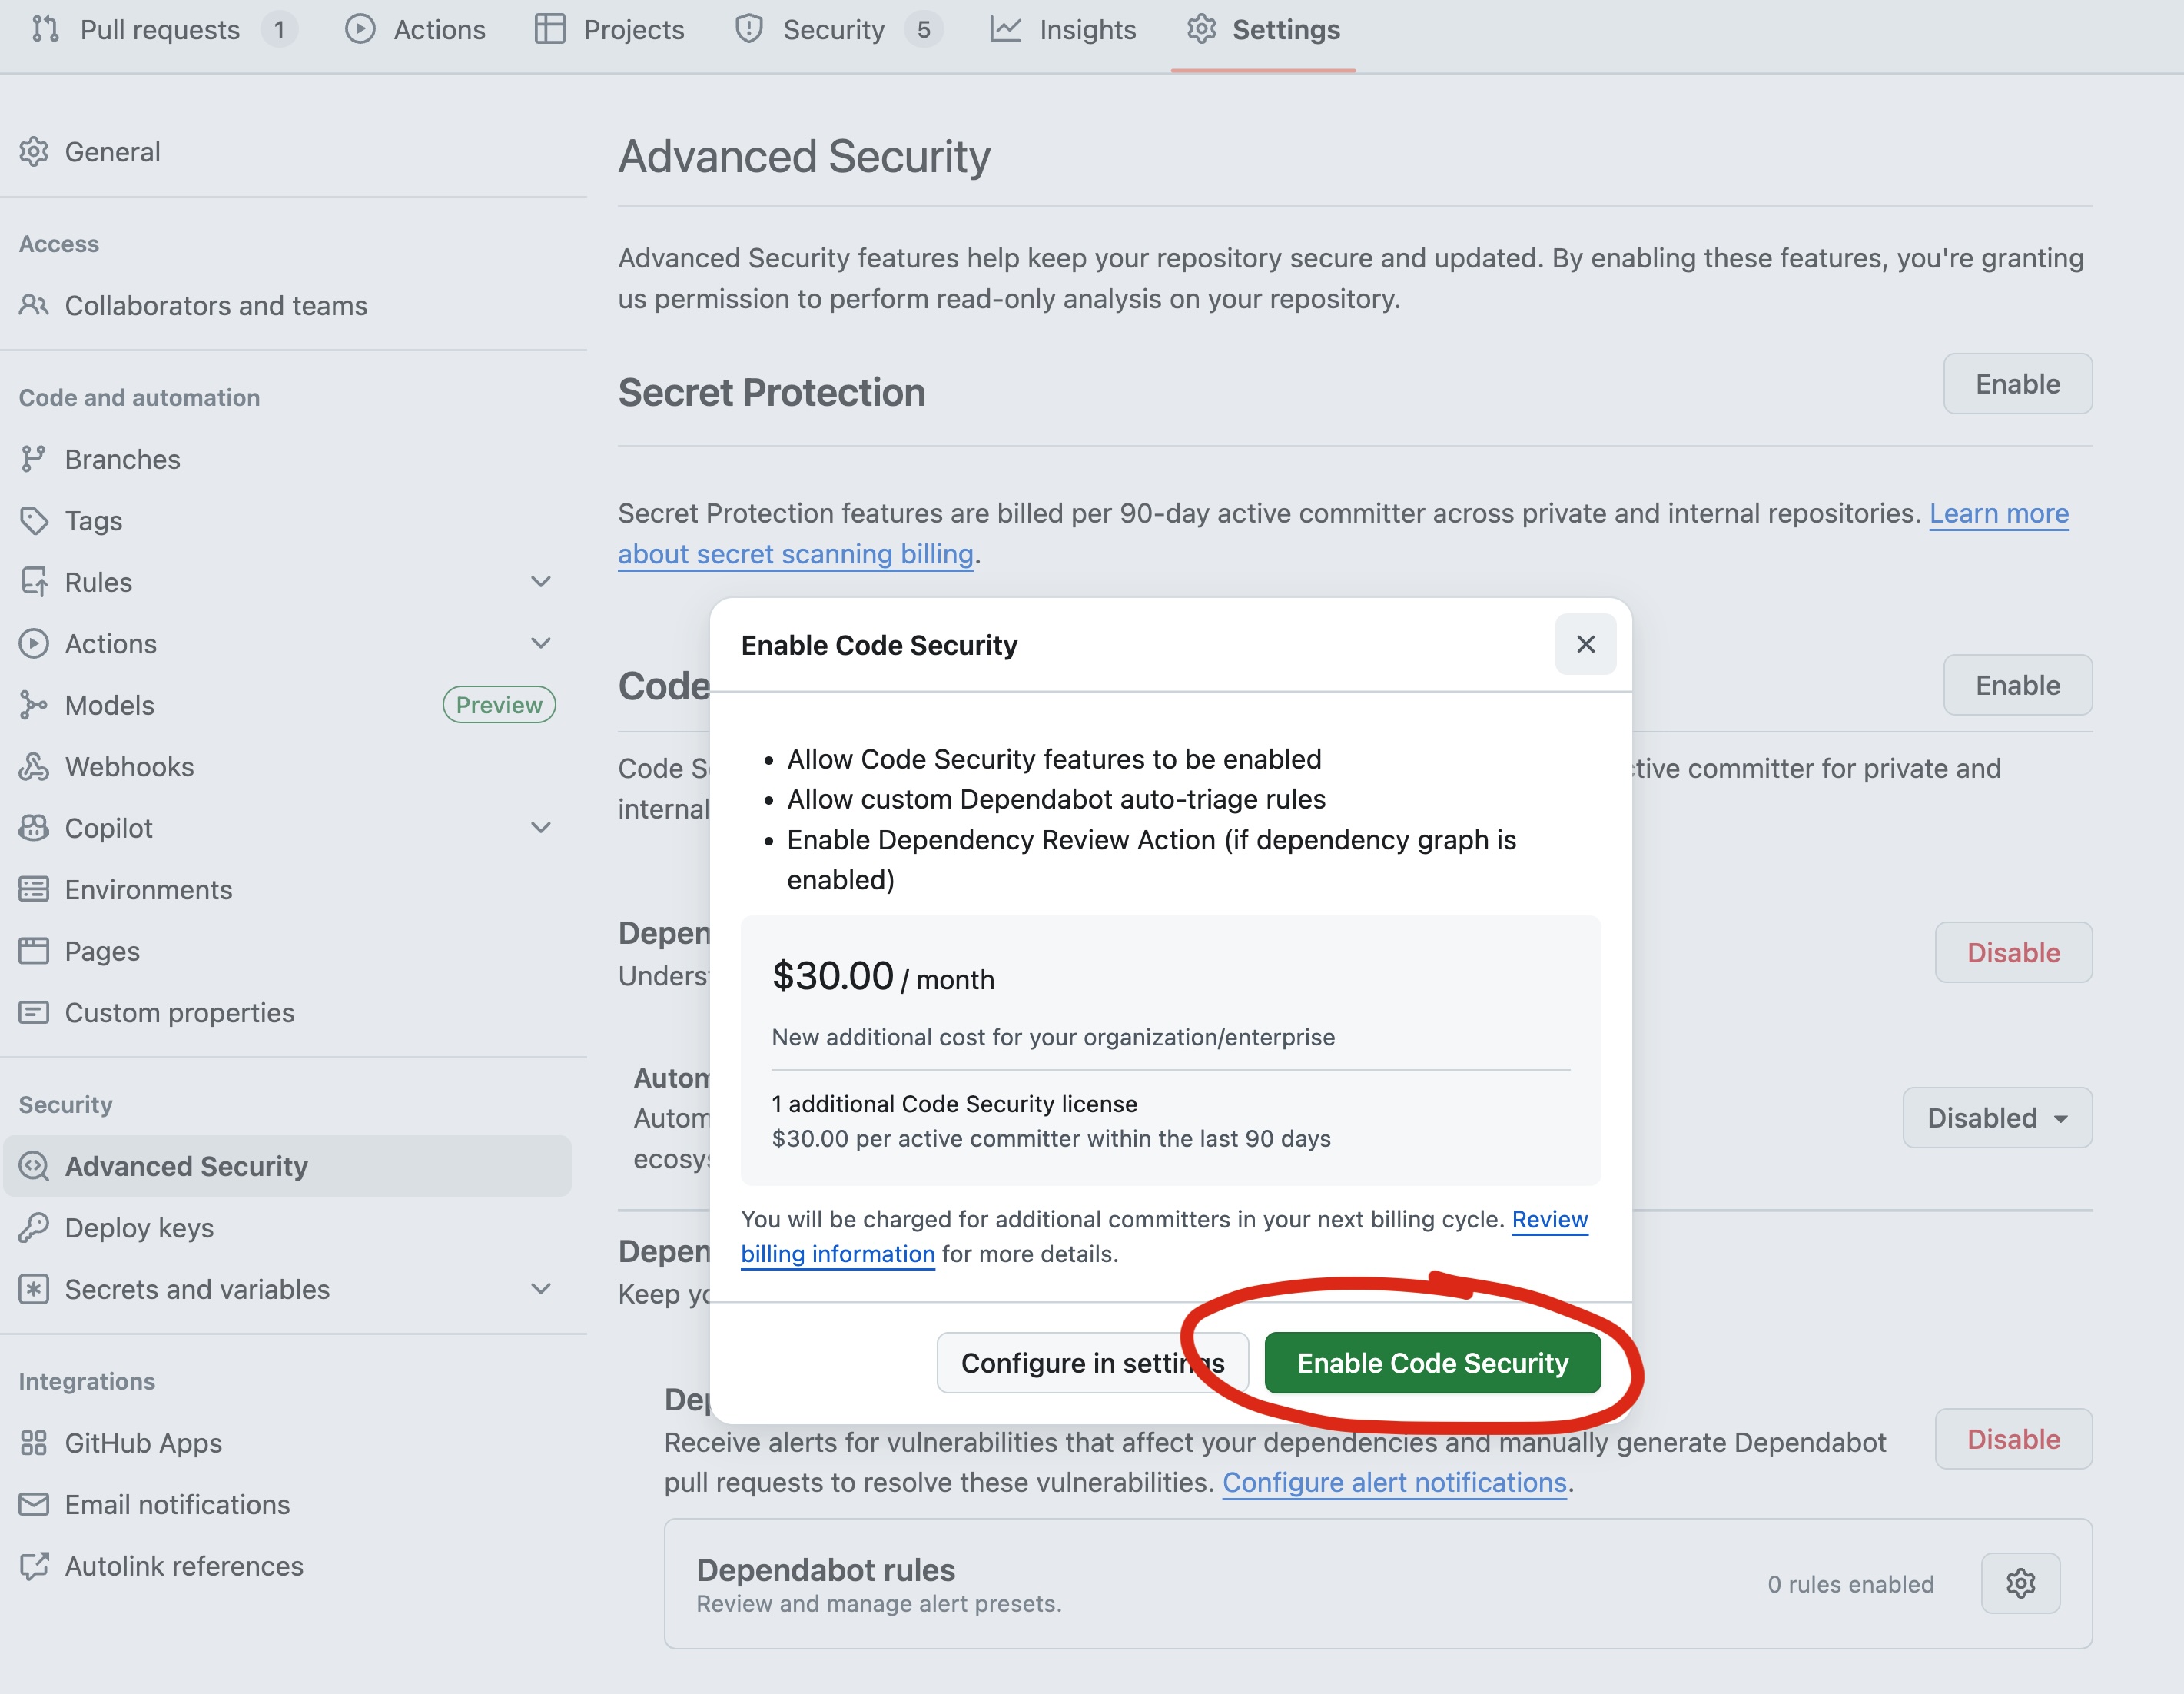
Confirming Code Security for your repository
2. Set up GitHub workflow
1. Create a file .github/workflows/sast.yaml in your repository.
2. Here is an example of a file that runs H3x Kitty SAST scans on pull requests to the main branch:
name: SAST Security Scan

on:
  pull_request:
    branches: [ main ]

jobs:
  sast-scan:
    runs-on: ubuntu-latest

    permissions:
      security-events: write
      actions: read
      contents: read

    steps:
      - name: Checkout code
        uses: actions/checkout@v4

      - name: Run H3x Kitty SAST scanner
        run: |
          docker run --rm \
            --platform linux/amd64 \
            -v ${{ github.workspace }}:/workspace \
            -w /workspace \
            --user $(id -u):$(id -g) \
            -e LICENSE_KEY=H3X_KITTY_FREE_LICENSE \
            -e CI_PROJECT_DIR=./ \
            -e ENABLE_METRICS=true \
            -e OUTPUT_FORMAT=github_sarif \
              h3xkitty/h3x_kitty:latest

      - name: Upload SARIF results to GitHub
        uses: github/codeql-action/upload-sarif@v3
        with:
          sarif_file: sarif-report.json
          category: h3x-kitty-sast-tool
        continue-on-error: true

      - name: Upload SARIF as artifact
        uses: actions/upload-artifact@v4
        with:
          name: sast-results
          path: sarif-report.json
          retention-days: 30
Security hint: If you run with a PRO key, it's recommended to save it in your project's secure storage (Vault, GitHub environment variables, etc.)
3. Reviewing scan results
After pushing commits to pull requests, you will see scan results inside the pull requests. They may look like this:
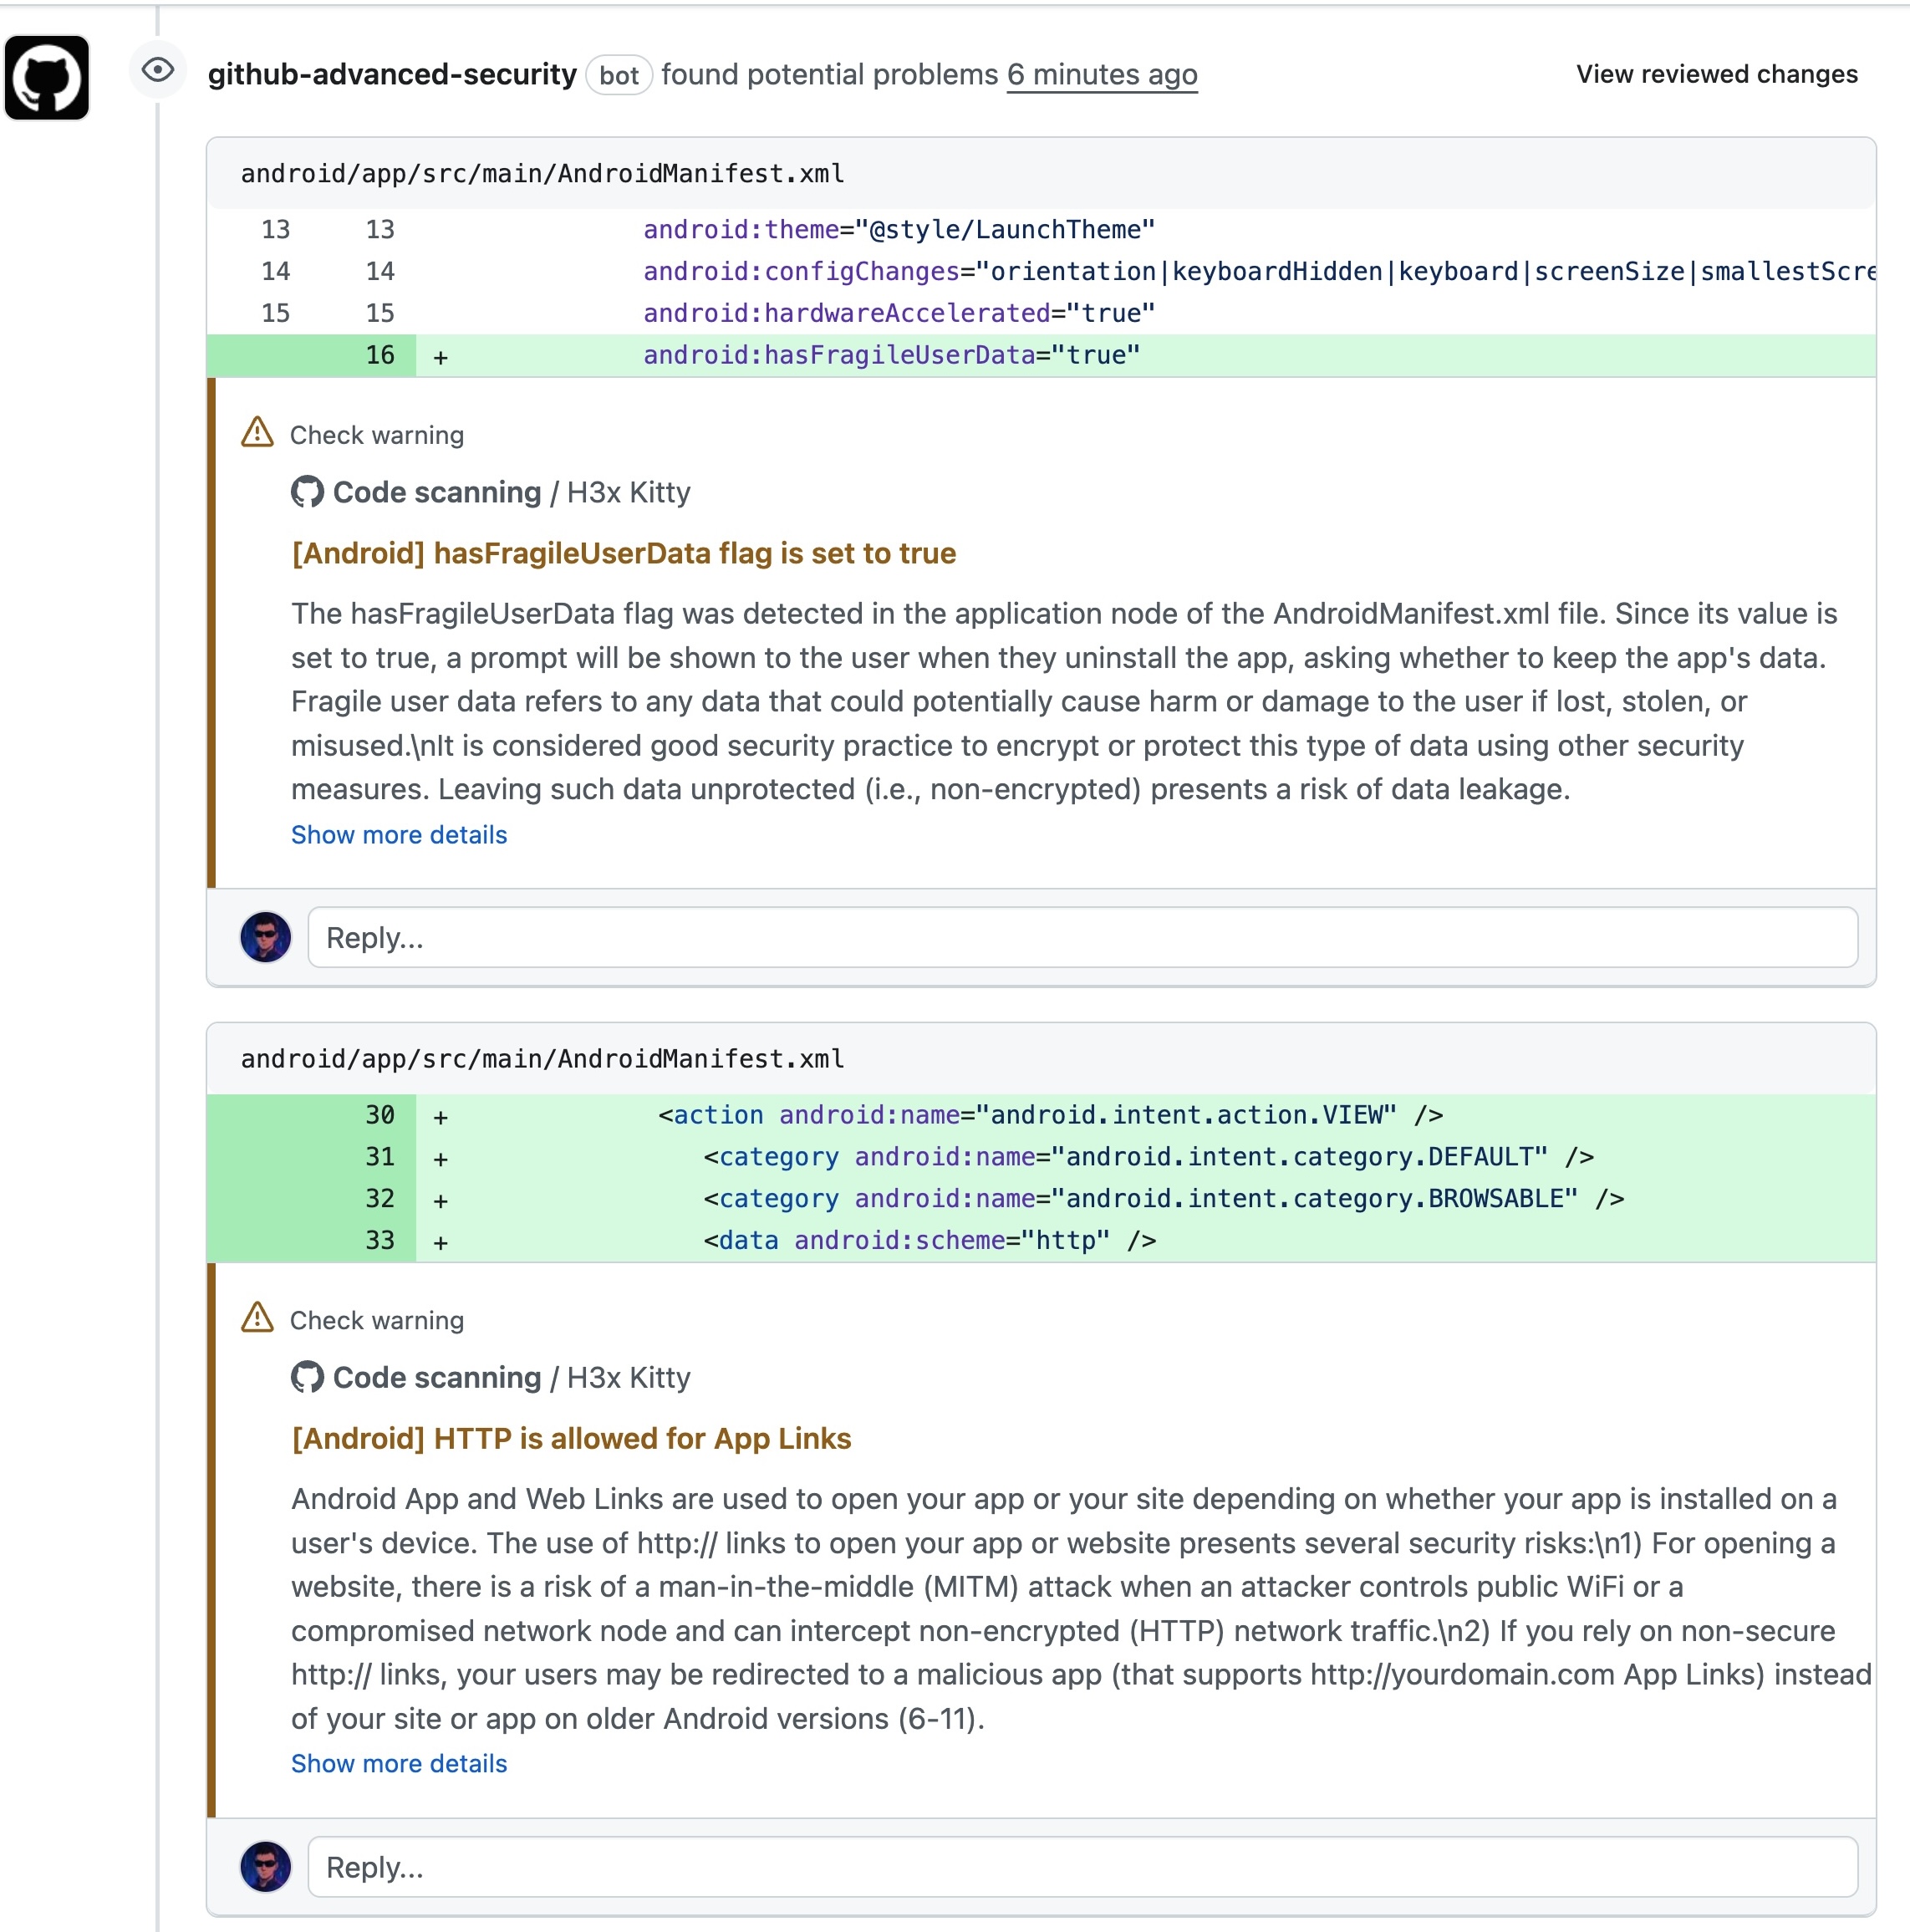
Example of H3x Kitty output in pull requests